Getting Started
Learn how to easily start using Materialize in your website.
Download
Materialize comes in two different forms. You can select which version you want depending on your preference and expertise. To start using Materialize, all you have to do is download one of the options below.
Materialize
This is the standard version that comes with both the minified and unminified CSS and JavaScript files. This option requires little to no setup. Use this if you are unfamiliar with Sass.
Materializefile_downloadSass
This version contains the source SCSS files. By choosing this version you have more control over which components to include. You will need a Sass compiler if you choose this option.
Sourcefile_downloadCDN
You can find all the versions of the CDN at cdnjs.
  <!-- Compiled and minified CSS -->
  <link rel="stylesheet" href="https://cdnjs.cloudflare.com/ajax/libs/materialize/0.97.0/css/materialize.min.css">

  <!-- Compiled and minified JavaScript -->
  <script src="https://cdnjs.cloudflare.com/ajax/libs/materialize/0.97.0/js/materialize.min.js"></script>
NPM
You can also get the latest release using NPM. This release contains source files as well as the compiled CSS and JavaScript files.
npm install materialize-css
Bower
You can also get the latest release using bower. This release contains source files as well as the compiled CSS and JavaScript files.
bower install materialize
Thanks for Downloading!
We hope you find Materialize useful in your next project. We would appreciate if you helped us spread the word about Materialize on our Social Media. Also if you want to support the development, you can donate to us.
Setup
Project Structure
After downloading, extract the files into the directory where your website is located. Your directory will look something like this.
You'll notice that there are two sets of the files. The min means that the file is "compressed" to reduce load times. These minified files are usually used in production while it is better to use the unminified files during development.
  MyWebsite/
  |--css/
  |  |--materialize.css
  |
  |--font/
  |  |--material-design-icons/
  |  |--roboto/
  |
  |--js/
  |  |--materialize.js
  |
  |--index.html
HTML Setup
Next you just have to make sure you link the files properly in your webpage. Generally it is wise to import javascript files at the end of the body to reduce page load time. Follow the example below on how to import Materialize into your webpage.
One last thing to note is that you have to import jQuery before importing materialize.js!
  <!DOCTYPE html>
  <html>
    <head>
      <!--Import Google Icon Font-->
      <link href="http://fonts.googleapis.com/icon?family=Material+Icons" rel="stylesheet">
      <!--Import materialize.css-->
      <link type="text/css" rel="stylesheet" href="css/materialize.min.css"  media="screen,projection"/>

      <!--Let browser know website is optimized for mobile-->
      <meta name="viewport" content="width=device-width, initial-scale=1.0"/>
    </head>

    <body>
      <!--Import jQuery before materialize.js-->
      <script type="text/javascript" src="https://code.jquery.com/jquery-2.1.1.min.js"></script>
      <script type="text/javascript" src="js/materialize.min.js"></script>
    </body>
  </html>
Templates
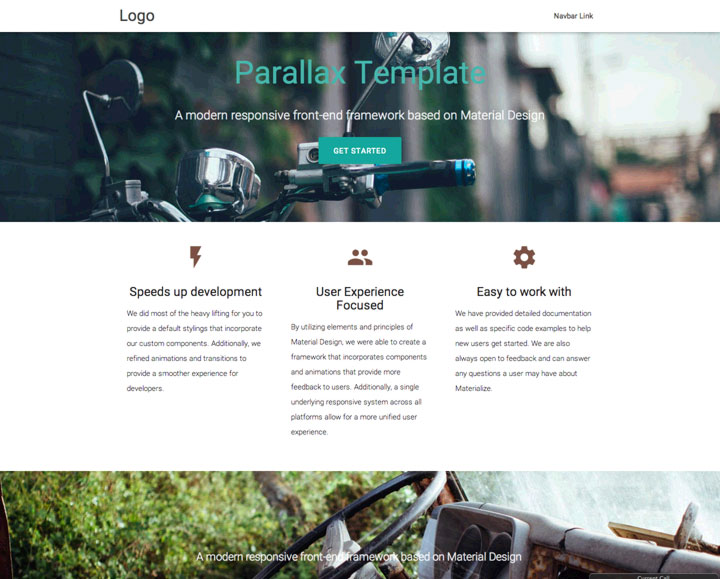
We have created some starter templates so you can easily start designing your website with minimal setup up time. Browse through our collection and download your best fit.
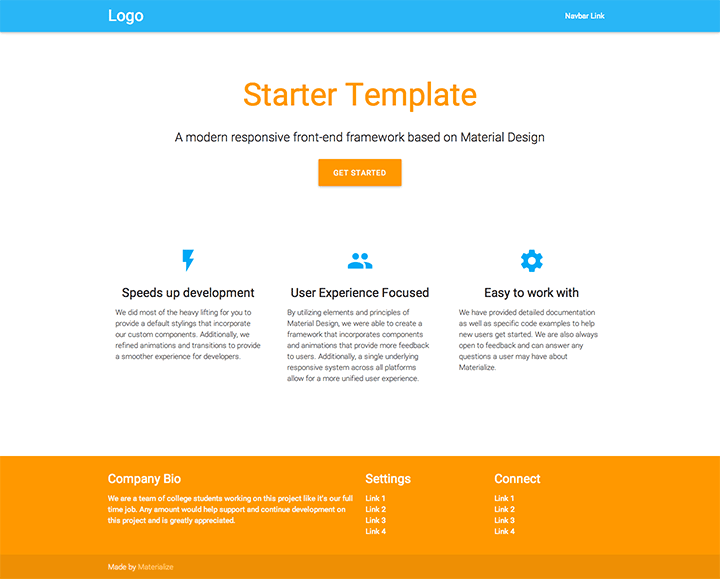
Starter Template

This is the simplest starter page with a Header, Call-to-Action, and Icon Features.
Demosearch Downloadfile_downloadThird-party Options
There are a few community-made options for you to easily include Materialize in your project. Keep in mind these are untested and may be out-of-date.
Ruby Gem
See here for documentation on this gem.
gem 'materialize-sass'
Meteor Package
meteor add materialize:materialize
Ember Package
  # install via npm
  $ npm install ember-cli-materialize --save-dev
  # make ember-cli fetch internal dependencies
  $ ember g ember-cli-materialize
Sass Setup
This section is only relevant if you chose to download the Sass version of Materialize.
Compiling Sass
Instead of having a css folder, you will find that the download instead contains many .scss files which contain the styles of individual components. Unfortunately, the browser cannot interpret Sass, so you must have your Sass compiler compile the scss/materialize.scss into a regular CSS file. At this point you can link this newly outputted file in your HTML page.
  MyWebsite/
  |--css/
  |  |--materialize.css <-- compiled from scss/materialize.scss
  |
  |--font/
  |  |--material-design-icons/
  |  |--roboto/
  |
  |--js/
  |  |--materialize.js
  |
  |--scss/
  |  |--materialize.scss
  |  |--components/
  |
  |--index.html
